At any rate, the baggage handlers on an interisland flight to Maui made the "decision" in this case and they did a very clean job of work here:

While we're all waiting on the airline to come to a decision to assume liability and (we hope) cough up the money for a new neck, it seems reasonable to fix this one. Also, if there isn't a satisfactory settlement, this will be a substantial and reasonable repair.
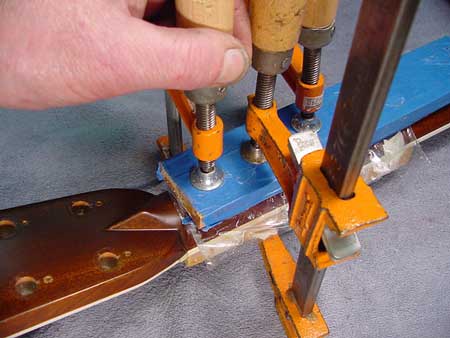
I rummaged around in my drawers and found a clamping caul I had molded to fit a similar neck some years ago:

The Quick Carve compound is slightly resilient, but holds its shape well, and I have the entire caul wrapped in shiny blue tape so the glue won't stick to it.
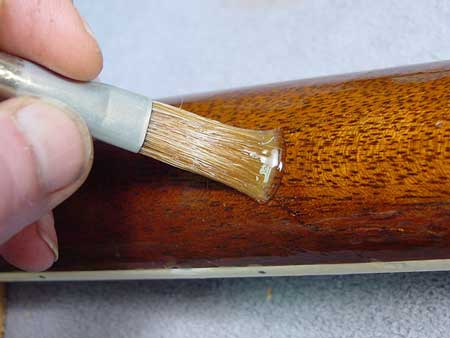
The break was nice and clean and the pieces fit together well, so there was no need for a any special joint preparation. I used my little hair dryer to warm the pieces so I'd have a bit more time to apply clamping pressure before the glue started to gel:

Most any wood glue would be strong enough for such a long break, but I wanted to ensure that the joint would hold if the guitar was left in a hot parked car. Hot cars are such a routine problem with stressed glue joints, I always try to take heat into consideration. Hot hide glue is resistant to much higher temperatures than regular epoxy, white or yellow carpenter wood glues.

(In the photo above, you can see the end of the adjustable truss rod, and alongside it, a little hollow round locating pin used by the factory to aid in the assembly of the neck and fingerboard. There's a matching pin at about the 12th fret position.)


