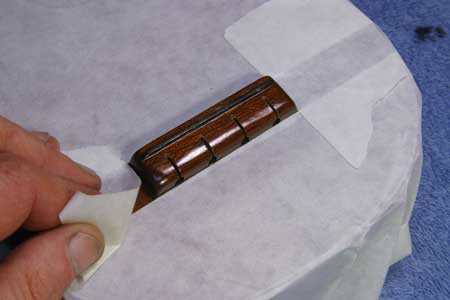
I'm not terribly worried about protecting the top from the slip of a tool because I have a nice sharp plane and a reasonably steady hand. But, I'll be using some sandpaper later in the job, and it's very easy to drag a piece across the finished surface causing light but nasty little scratches.
Here's the plane I mentioned. It's a classic "Clifton" rabbet plane. I think Clifton calls it a "shoulder plane." It's my favorite tool for this job because it cuts right to the exact edge of the plane body on both sides, and it's very heavy, making it stable as I push it:

You can't see it in this photo but the blade is VERY sharp
and has a steeper cutting angle than it came with. I don't know the exact
angle - it's somewhat over 45 degrees, measured from
the sole of the plane. The high cutting angle makes for a harder push,
but since the plane is so narrow, that's not a serious issue. The higher
the angle, the less likely it is to cause grain tearout.
With a firm grip on the body, I'll plane the appropriate amount off the back edge of the bridge, using the saddle as my guide:

The saddle is ebony and it's glued in place, so I figure if I can do this entire job without taking the saddle out, I'll save some time and effort.
I made up this little gauge by cutting a notch in a piece of a business card, so I can measure my progress as I cut the front edge to match the back:

A couple of quick passes with the plane, and I'll have the saddle lowered to match its original height above the bridge.
Here's a closeup of the plane in action as I reset the blade a take a super light "dusting" cut to true up the back edge:

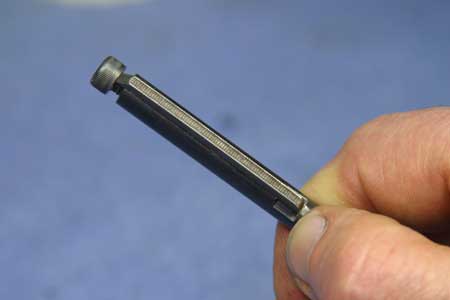
This is the business end of a fret file. It's the kind that comes with three different "burs" or cutting blades, sized for thin, medium or jumbo fret wire. I don't use it for frets, but I do find it to be just the tool for rounding over saddles that are glued in place:

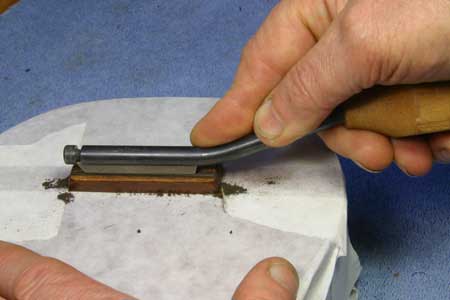
A few strokes is all it takes to get a nice rounded contour on the top of the saddle:

I'll use a medium-hard sanding block (cork) and some 180 grit sandpaper to round the back and front edges to their original contours, and finish sanding with 280 in preparation for the finish I'll be adding:

A bit of dark walnut paste wood filler wiped on and some orange shellac applied with a cotton swab gives me a very close match to the original color:

A few days later after some more applications of shellac, I have a nicely finished repair:

The action is 1/32" lower at the 12th fret, and the bridge is still within the normal range of thickness. If the bridge had been too thin to stand being cut from the top, I might have been able to remove it and cut from underneath. As you can see in the first photo above, the choice was obvious because of the location of the holes for the string knots. Of course, if the saddle had been high enough to start, then all I'd need to do would be to cut it lower.