Dremel Bearing
© Frank Ford, 4/19/99; Photos by FF, 4/15/99
A couple of months ago, I finally decided to retire my variable speed Dremel, even though it was still working well. I'd had the thing for better than 20 years, and kept it mounted in the old original Dremel router base, all set for routing bridge saddles.
The new router bases now available from Stewart-MacDonald and L.M.I. are so much better than the Dremel accessories, but my old tool won't screw into them because the "nose" has different threads.
I figured it was about time for me to get up to speed, Dremel-wise, so I got a new tool, and screwed it into a new Roy Noble router base from L.M.I. Instant disaster!
Well, it turns out it had a loose bearing that allowed the cutter to wobble so much it cut a dovetail path right through a Martin style repro bridge I had just made. Out came my old tool to clean up the mess. I relegated my new tool to "utility jobs" for a while.
Last week, I had an opportunity to speak to Bishop Cochran who designed a super deluxe Dremel router base. He told me that the front bearing is often just loose in the housing, and all I had to do was shim to make it tight, and my Dremel tool would run straight and solid.
Sure enough, it worked. Here's how the job went:
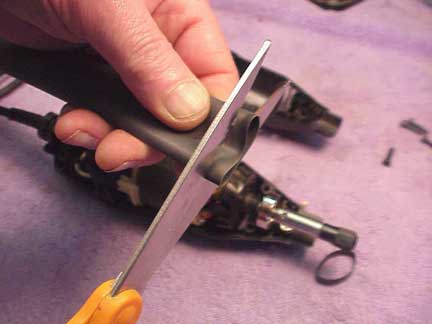
I opened up the tool case and cut a piece of shrink tubing to go around the outside of the bearing race:

I happened to have a piece that fit almost without shrinking:

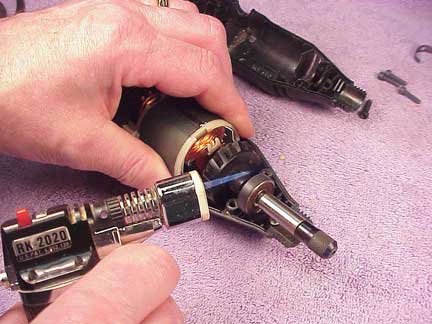
A few light passes with my little torch, aimed away from the plastic housing:

And the tubing shrank up nice and tight:

It was easy to aim the torch at a tangent to the bearing to avoid heating the bearing very much while the tubing did its work.
Notice the gap in the "nose" threads when I tighten up the screws:

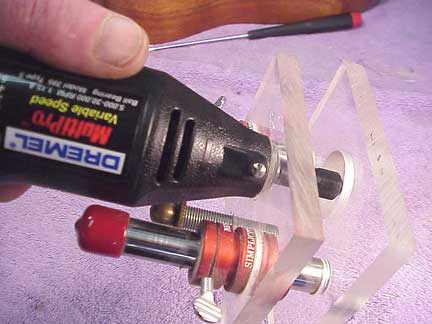
The bearing fits tighter and the plastic case is definitely strained a little, but it screwed nicely into my Roy Noble router base:

Now there's no play at all in the front of this tool!
Back to Index Page